Design websites is a fun job and creating realistic shadows have always been an issue with most junior design companies. Here is a quick step by step on how to create realistic shadows in photoshop. For this example, we're just going to be creating a shadow on a basic rectangle that gives the impression that a corner is being lifted up from the background, but you could warp or bend the shadow to create hundreds of possibilities. Quick note: I'm not going to be giving exact settings, as the best way to learn how to do this stuff is to experiment.
1. Start off by creating a rectangle
2. Now, draw another rectangle roughly the same width as the box created in the previous step, and fill it with black.
3. Move the new black box below the blue one in the layer palette.
4. Apply the gaussian blur filter (filter -> blur -> gaussian blur)
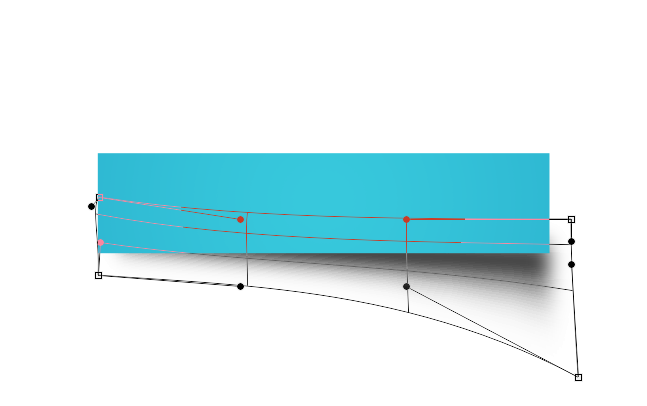
5. Select the warp tool (edit -> transform -> warp) and move around the points to give you something similar to below
6. Now you should have something looking like this :
7. The shadow looks a little bit too spread out, so we're going to open the warp tool again and tuck in some of the edges.
8. The shadow looks a little bit too spread out, so we're going to open the warp tool again and tuck in some of the edges. At this point I've also taken a small black brush with about 75% hardness, and painted in a thin black line under the blue rectangle to give it more of a base.
9. The final step is to warp the shape one last time to give it the curve on the bottom right. Once that's done, take a soft brush at a really low opacity, fire up a layer mask, and brush out some of the shadow to give it a more realistic look. Voila!


